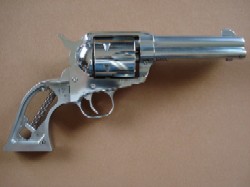
This is the Blackhawk we will remove the grip frame from. Be sure your gun is unloaded and remove your grips.
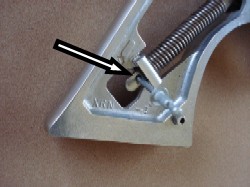 |
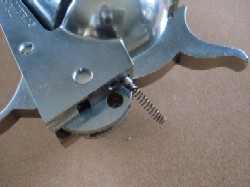
This shows the hammer in full cock position and a pop rivet inserted into the hole in the base of the hammer strut. You can use a small nail or even a paper clip. When you pull the trigger and release the hammer, the spring will be captured on the strut. You can now remove the grip frame screws easily with no pressure on them. |
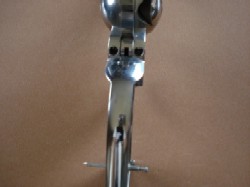 |
Now remove the two screws you see at the base of the hammer. |
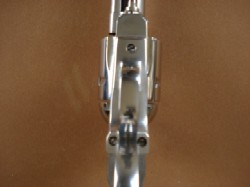 |
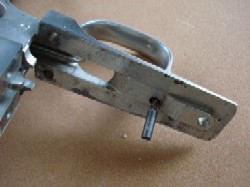
Next remove the three screws on the bottom of the grip frame taking care to note their positions. The longer of the two rear screws must go back into the same hole. |
 |
This is a picture of the screws you have now removed. You can see the longer of the two rear screws. |
 |
Be careful not to lose your pawl spring. Note that it goes into the hole with the plunger in first. |
 |
This is your cylinder locking bolt spring. Note that it goes into the hole with the spring end in first. |
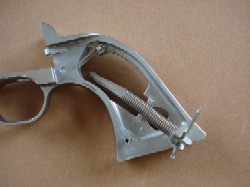 |
You can now lift out your hammer strut and spring. |
|
CLICK HERE FOR INSTALLATION INSTRUCTIONS |